JR Body (2G Cloud)
CMTC Installation
CMTC Calibration
JA/JX Body (1G Cloud)
CMTC Installation
CMTC Calibration
Swaybar Installation
Cat-Back Exhaust
Induction Tube
MSD 6AL Installation
TPS Modification
Miscellaneous
Waste Money
Car Information
AllData
AllPar
The Society of Automotive Engineers
Car Enthusiasts
2GSS.net
Dakota-Durango
Stratusphere
2GN.Org
Neons.Org
LXForums
Custom Magnums
SebringClub.net
Car Parts Vendors
Car-Part.Com
Mopar Dealer Parts
|
|
How To Make A 2.5" Cat-Back Exhaust
JA/JX (1G Cloud)
This How-To describes the parts you will need in order to construct your very own 2.5" cat-back exhaust system.
| Warning |
|---|
| The instruction presented herein is to be used at your own risk. While checked for accuracy, the information in this page may not be 100% accurate, and may not work for your particular vehicle. I will not assume liability for any damages or injuries that result from either properly or improperly following this instruction. Failure to abide by this instruction while performing the indicated task may result in costly damage and/or injury. |
| Note |
|---|
This instruction only applies to the below models:
| Automobile | Model Year | 2.0L
I-4 | 2.4L
I-4 | 2.5L
V-6 |
| Sebring Convertible | 1996-2000 | N/A | Yes | Yes |
| Cirrus | 1995-2000 | Yes | Yes | Yes |
| Stratus | 1995-2000 | Yes | Yes | Yes |
| Breeze | 1996-2000 | Yes | Yes | N/A |
|
- Parts List
| Note |
|---|
| All items listed below are 2.5" diameter inlet and outlet. |
| Note |
|---|
| The Thrush Magnum Glasspack muffler is intended to take the place of the stock resonator, and is optional. |
| Note |
|---|
| If you do not have a muffler shop perform the install, purchase about 5 feet of straight 2.5" diameter piping. You'll need it. |
| Name | Qty. | Where
Purchased | P/N | Unit Cost
($US) | Total Cost
($US) |
| Muffler, Borla, T-304 Stainless Steel Turbo | 1 EA | JC Whitney | 22ZX3092Y | 99.95 | 99.95 |
| 180 Degree Mandrel Bent Exhaust Tubing | 1 EA | JC Whitney | 81ZX3035N | 21.99 | 21.99 |
| 90 Degree Mandrel Bent Exhaust Tubing | 3 EA | JC Whitney | 81ZX2968Y | 11.49 | 34.47 |
| 45 Degree Mandrel Bent Exhaust Tubing | 1 EA | JC Whitney | 81ZX2930Y | 7.99 | 7.99 |
| Muffler, Thrush, Magnum Glasspack | 1 EA | AutoZone/Local Speed Shop | 24214 | 26.99 | 26.99 |
| Tip, Exhaust (Whatever suits your tastes) | 1 EA | | | | ~10.00 |
| Shipping & Handling | | | | | 25.00 |
| Labor | | | | | ~150.00 |
| Total | | | | | ~370.00 |
Instructions
A guy named Wayne Hackett was kind enough to send me an e-mail describing the necessary work involved in actually installing the exhaust components. I have included a selected portion of his e-mail here.
Quote:
Tom,
I took the cover off my Limited last weekend -- this is my summer ride -- and put it up on the lift to do the exhaust mods. I bought the JC Whitney parts you recommended and had a good time fabricating. I'm as comfortable doing this sort of thing as you are with the electronic mods, so I thought I'd pass on the experience. Hand tools, a MIG unit, and a sawzall are what's needed to get it done. Here's my recommend:
- A 2 1/4'' ID to 2 1/2" OD adapter is required to fit the Thrush to the cat outlet pipe. It will take two adapter pieces from a parts house (or one from a muffler shop) to do the job. Weld the unit to the Thrush inlet.
- Make a hanger for the Thrush from a length of 1/2" steel rod that emulates the stock hanger rod, or cut the unit off the stock system for reuse. Center the Thrush on the rod in position in the stock rubber hangers and weld the rod to the Thrush. Mount the Thrush to use for pipe fabrication.
- Make a rear muffler mount for the Borla from a length of 1/2" rod and an exhaust clamp. The mount clamps to the muffler and uses the stock rubber hanger to support the rear of the muffler. The outlet rides to the left of the hanger. Support the weight of the muffler on blocking or a jack stand (I have a drive-on lift) in a level position and parallel to the sub frame of the car.
- Cut and fit two of the 90 degree bends to run from the rear of the Thrush to the area to the right side of the gas tank. Center the run to keep things safe and cool. Using temporary 2 1/2" clamps will help keep things in place.
- Pie cut the 45 degree bend (I removed about 3/8" of material in the widest spot) to reduce the angle of the new piece to match the angle of the stock pipe. Cut a short length of straight pipe from the 180 degree bend to connect the 45 degree bend to the double 90's you ran from the Thrush, keeping the run away from the gas tank. By the way, there's more that enough extra straight pipe on the 180 degree bend to use where necessary, so buying an additional straight section of pipe is only necessary if you mess up.
- Cut the third 90 degree bend to match the line of the original exhaust from the Borla forward and hang it.
- All you need to do now is cut the 180 degree bend to connect front and rear pipe fabrications in the area around the rear suspension sub frame. Take it slow and second guess yourself a lot.
- Once you've got all the pieces cut, positioned in place with clamps, wire, or blocking, tack the joints with the MIG. If you're happy with the line, take the whole thing down and weld up the pipe joints. I clamped the finished pipe in the Thrush outlet and Borla inlet.
- Weld a short 1/2" rod to the pipe and reused the stock middle rubber exhaust hanger.
- There's even enough extra straight pipe to make an exhaust tip, although I need to find an SS unit that looks better.
If I was really planning ahead, I'd have borrowed the office digital camera and recorded some of this. I can take a shot of the finished product if you think anyone might be interested.
The car sounds close to stock at idle, but is some authoritative when nudged. Overall a super mod.
Thanks,
Wayne Hackett
Pictures of Current Cat-Back
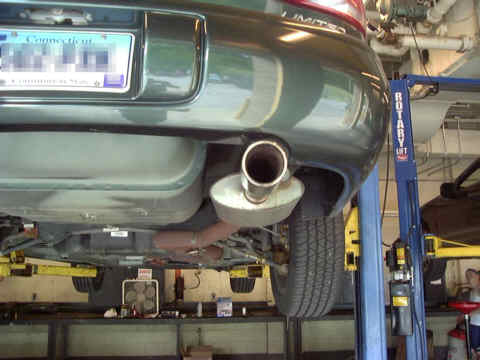 |
| Tail End View
|
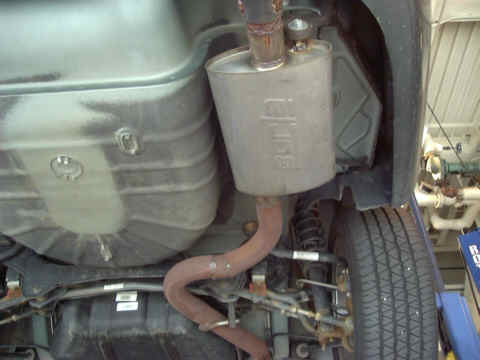 |
| Tail End View - Bottom
|
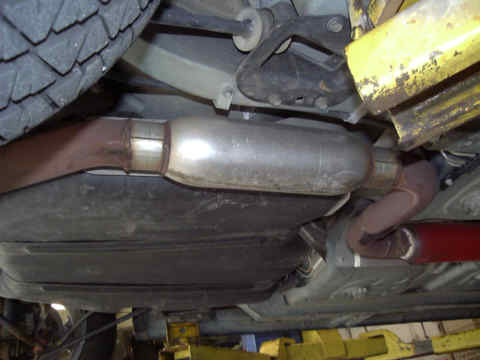 |
| Gas Tank View, showing Dynomax Bullet-Style Racing Muffler
|
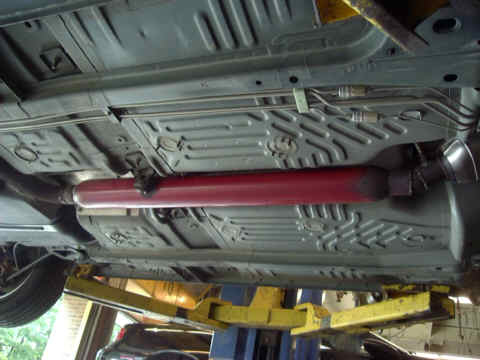 |
| View of 40" Glasspack Muffler
|
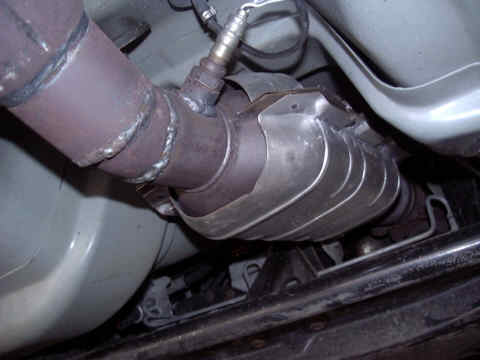 |
| View of Dynomax High-Flow Catalytic Converter
|
Pictures of Old Cat-Back
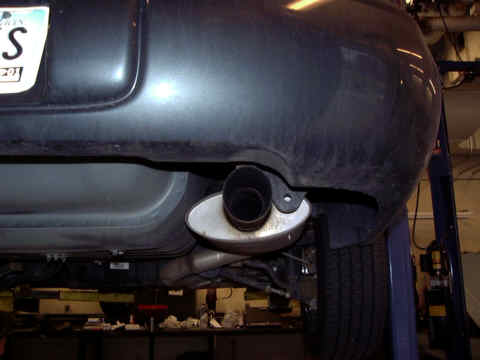 |
| Tail End View
|
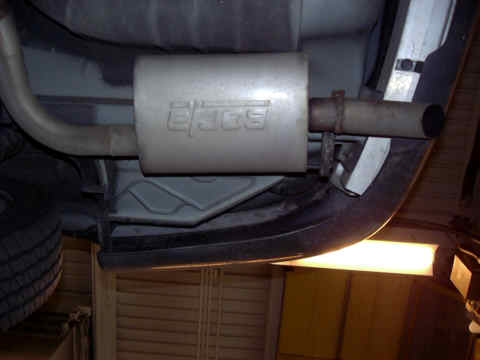 |
| Tail End View - Bottom
|
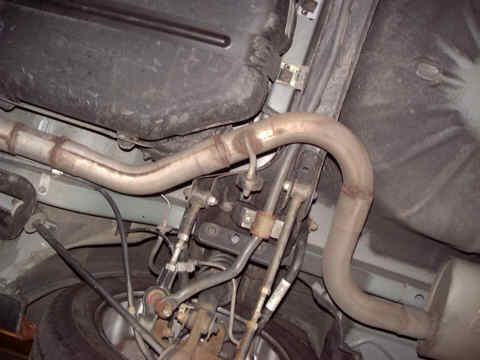 |
| Crossmember View
|
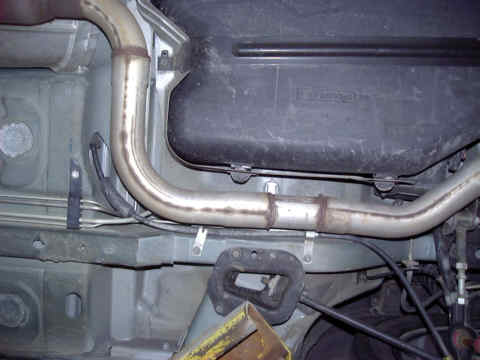 |
| View between Crossmember and Fuel Tank
|
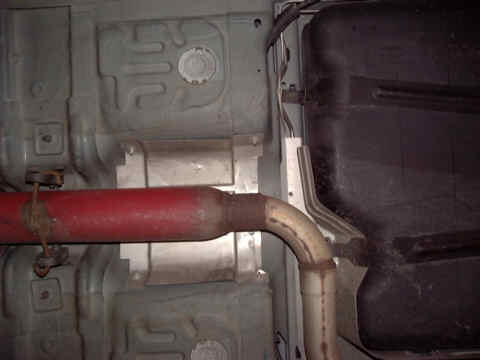 |
| View of Glasspack - Aft End
|
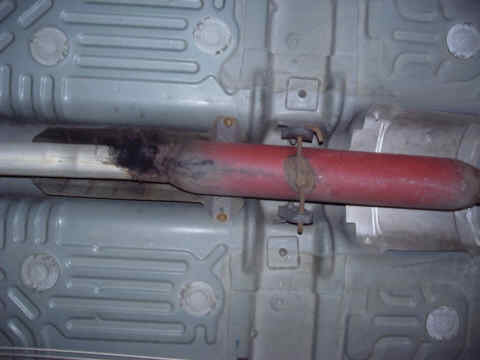 |
| View of Glasspack - Fore End (Note weld leak)
|
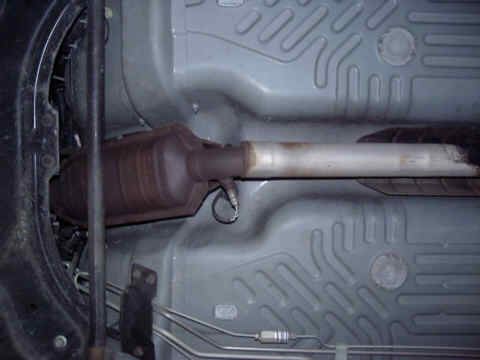 |
| Catalytic Converter (Stock) View - Bottom
|
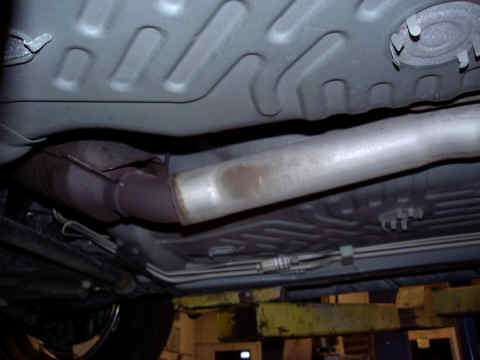 |
| Catalytic Converter (Stock) View - Side
|
|


